Cases: Setup Options and How They Work
Selling cases (multiple bags grouped together) is a great way to offer volume pricing to your wholesale customers. RoasterTools gives you two ways to set up cases, and each option affects how they display in your Wholesale Portal and how your operations team sees packaging tasks.
Overview:
Two ways to set up cases
You can set up cases in RoasterTools using either of these methods:
-
Bag level setup — Create a case as a bag size, then enable it as a variant within an existing product. For example, your Mexi Blend product would have variants like 12oz, 15lb bucket, and 12oz case of 6.
-
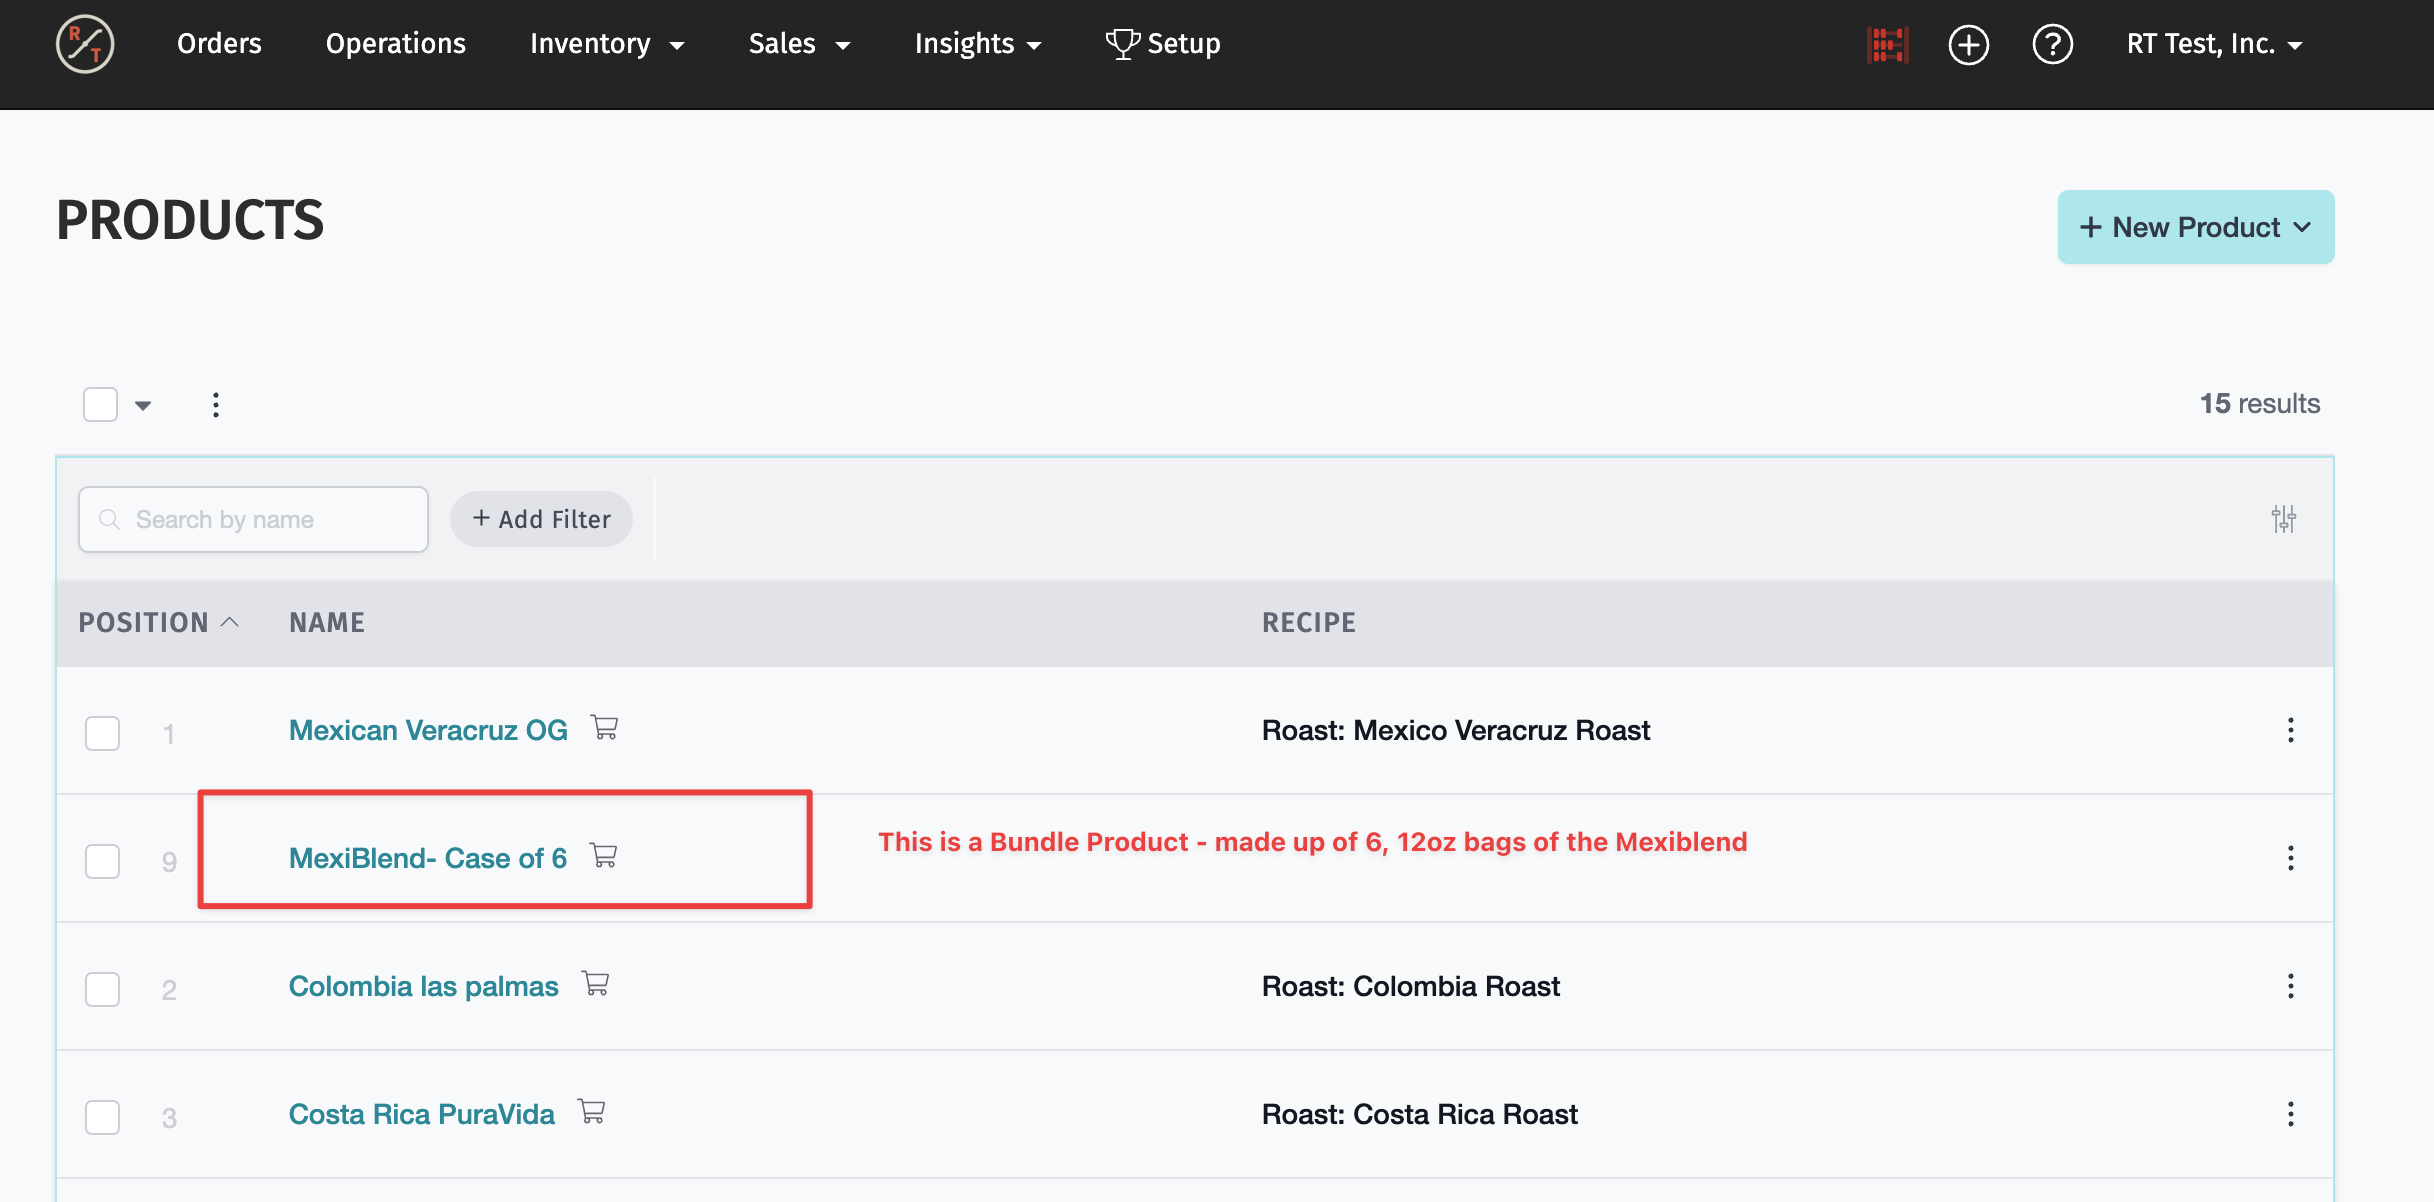
Bundle setup — Create the case as its own standalone product. The bundle is made up of multiple individual products from your existing product set.


Both methods work, but they display differently in your portal and show up differently in operations tasks. Understanding these differences will help you choose the right approach for your business.
Learn More: New to creating products in RoasterTools? Start with How to Create a Coffee Product.
Portal display differences
Here is how each setup option looks to your customers in the Wholesale Portal:
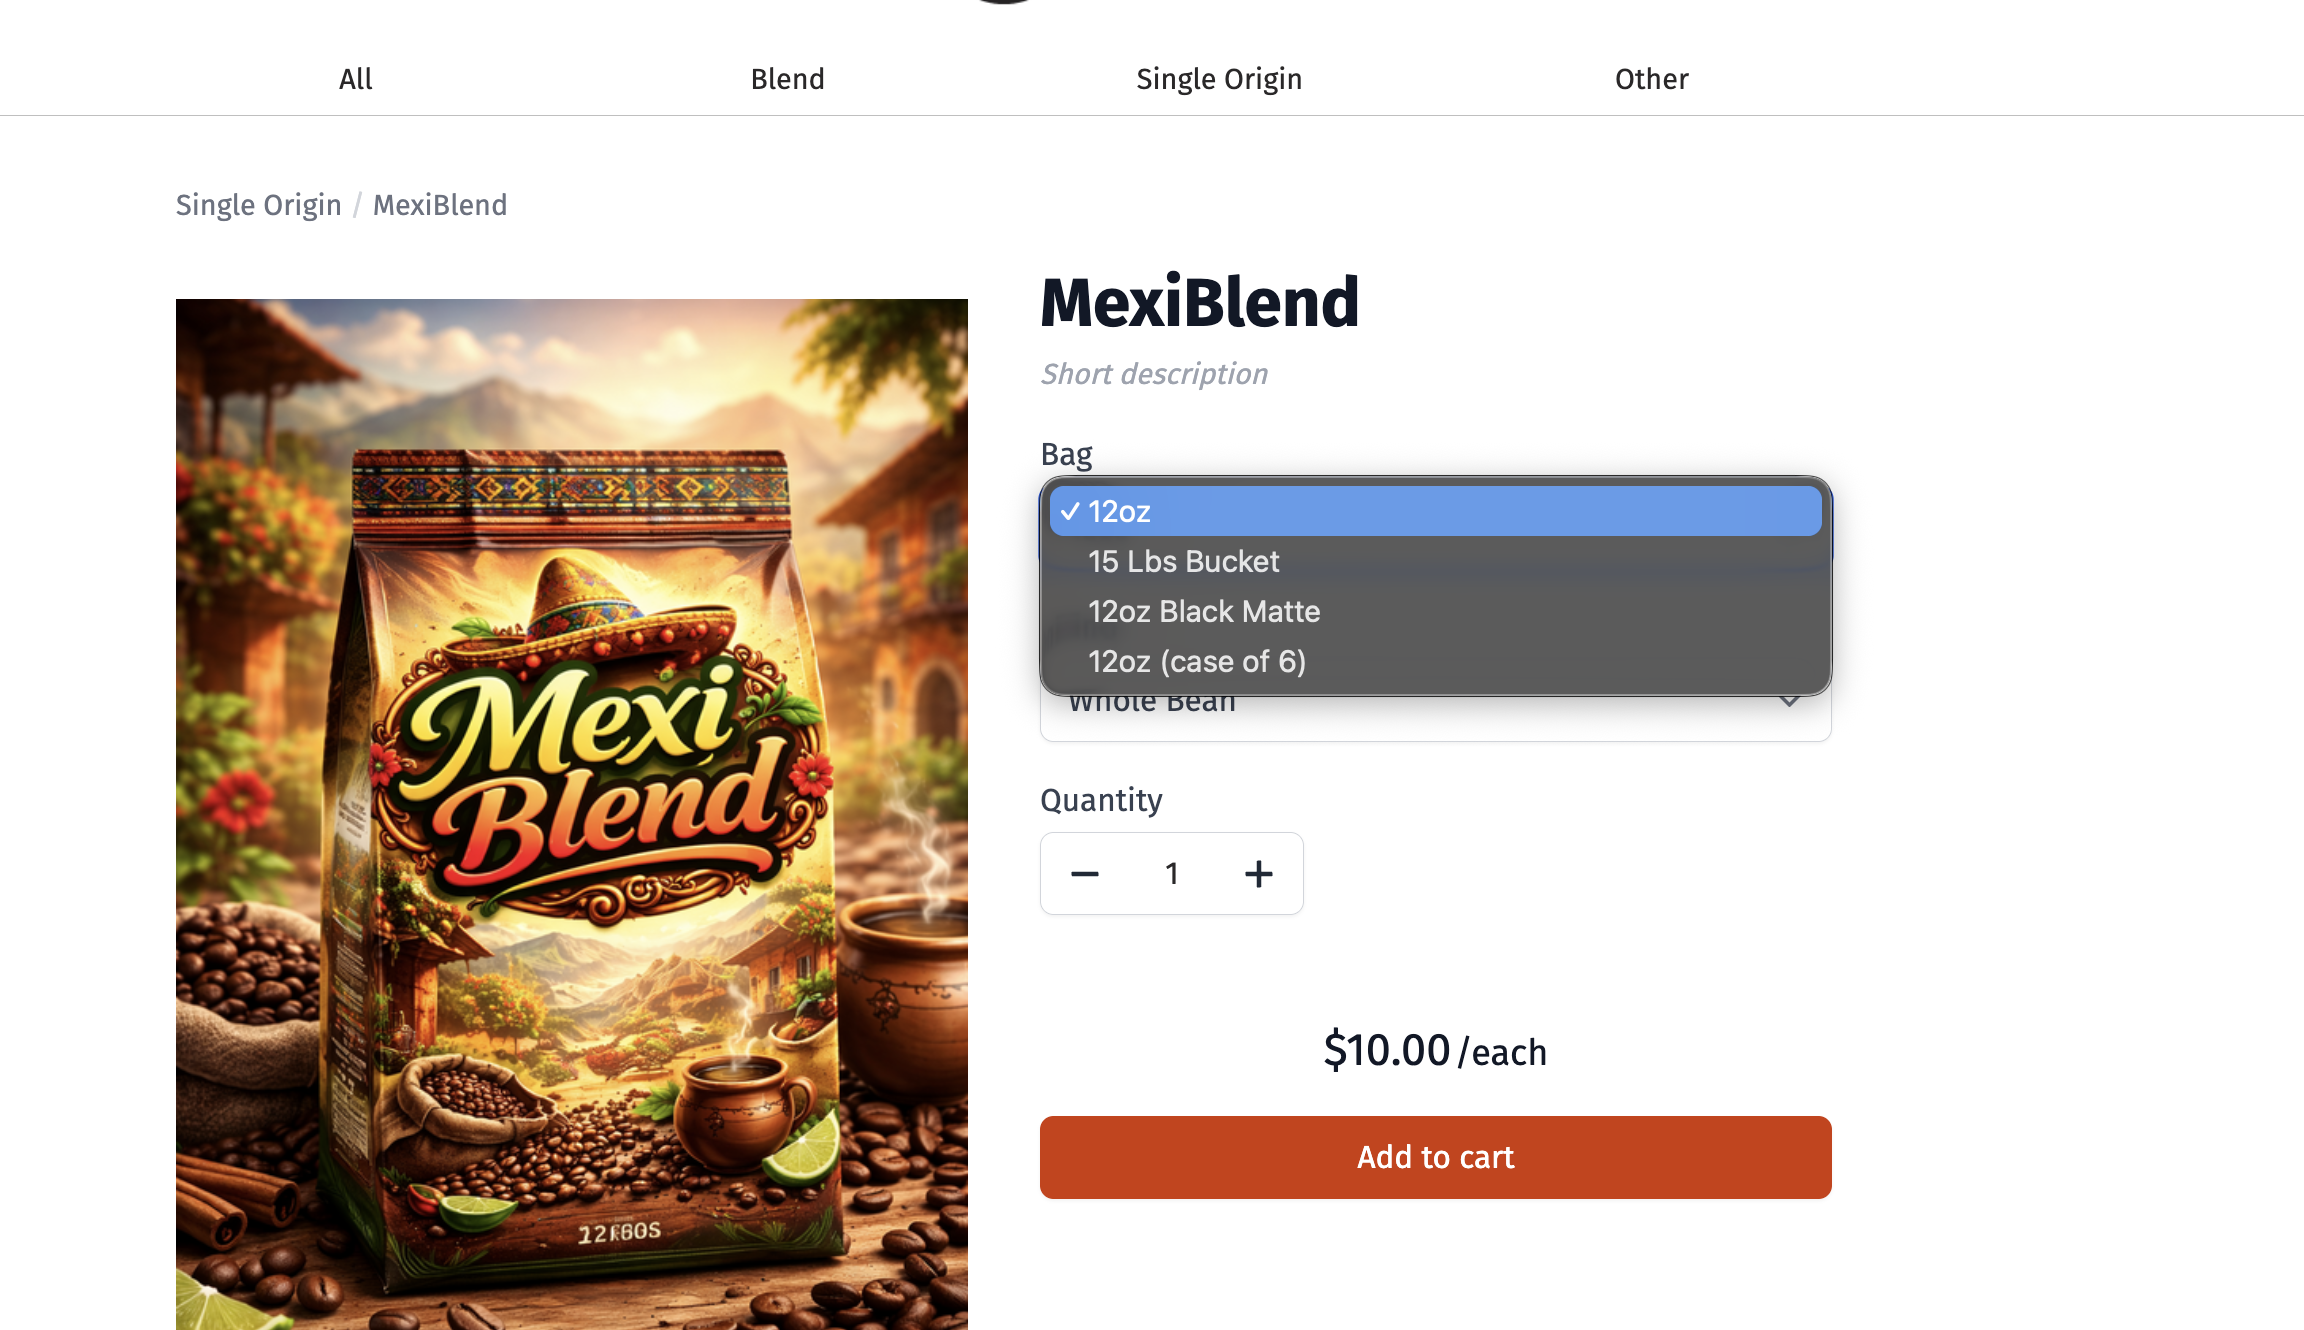
Bag level setup:
- The case appears as a variant within the same product listing.
- Customers select from a dropdown or variant picker that shows all options: 12oz, 5lb, 12oz case of 6, etc. Everything stays together on one product page
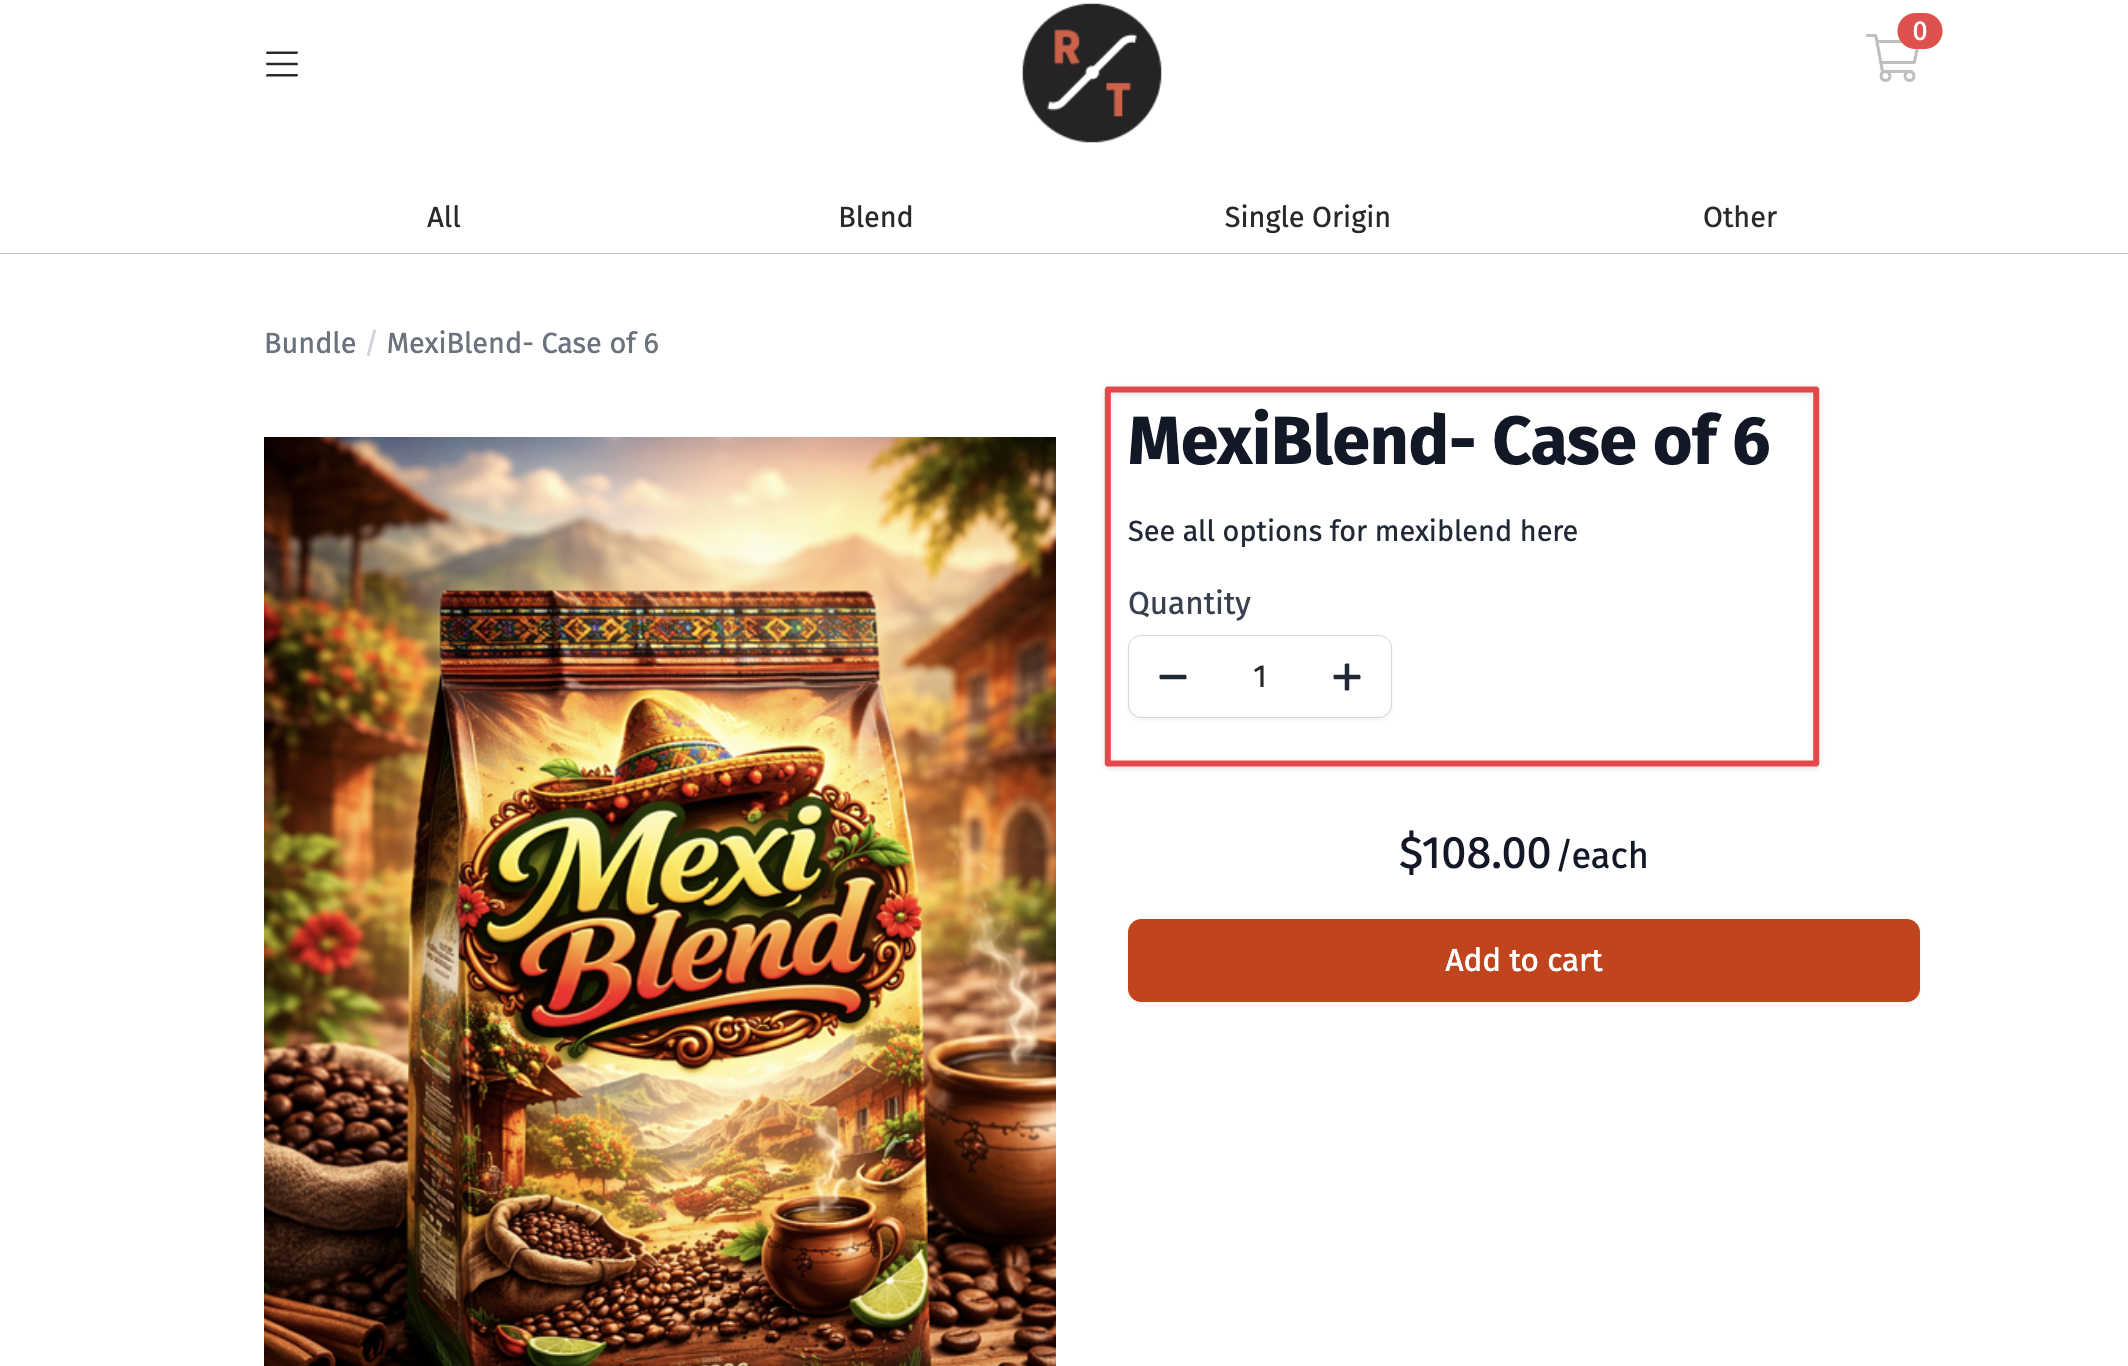
Bundle setup:
- The case appears as its own separate product in the portal.
- Customers browsing your catalog will see the case listed separately from the individual bags.
- You can choose to have them displayed in the same product category and also link them in the description, but it will require a little extra setup.
Operations differences
Each setup will affect how the tasks are displayed for the production team.
Bag level setup:
- Your packaging tasks show the case quantity separately from individual bags (e.g., "7 cases of 6" and "3 individual 12oz bags").
- Your team needs to do the math to figure out total individual bags needed: 7 x 6 + 3 = 45 bags.
- There is no separate task for bundling the bags into cases. Your team packages and groups them in one step.

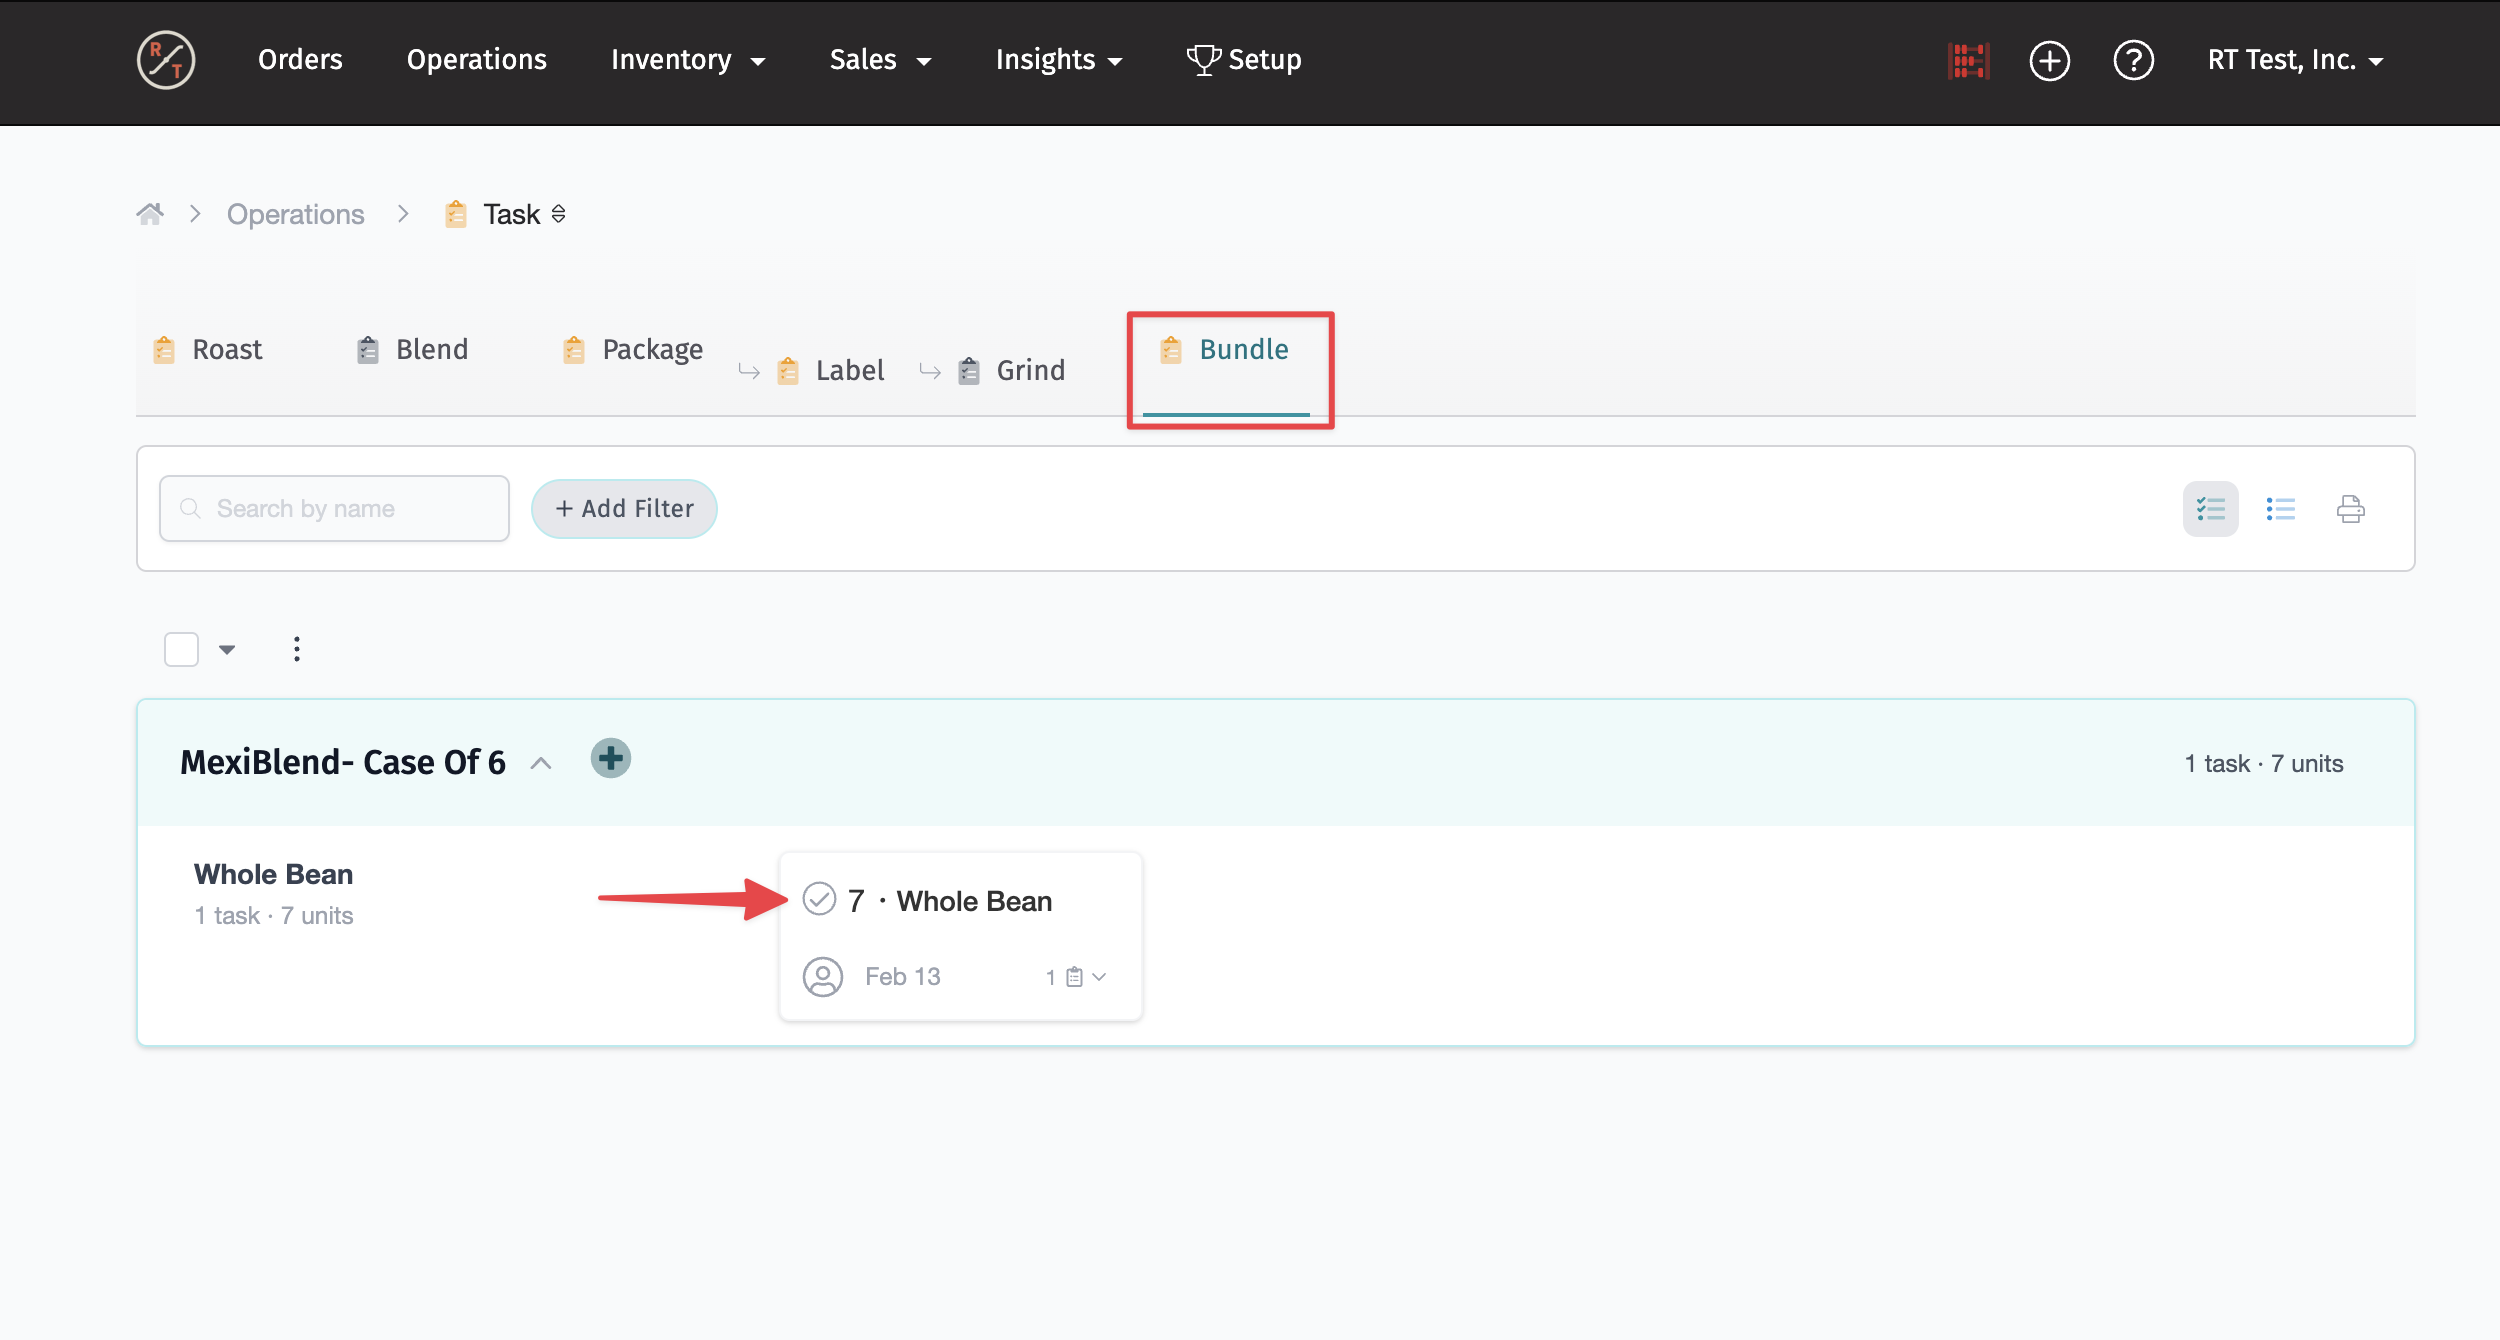
Bundle setup:
- Your packaging tasks show the total number of individual bags needed (e.g., "47 total 12oz bags").
- Creating the case is a separate task in Operations. Your team completes the packaging task first, then completes the bundle task.
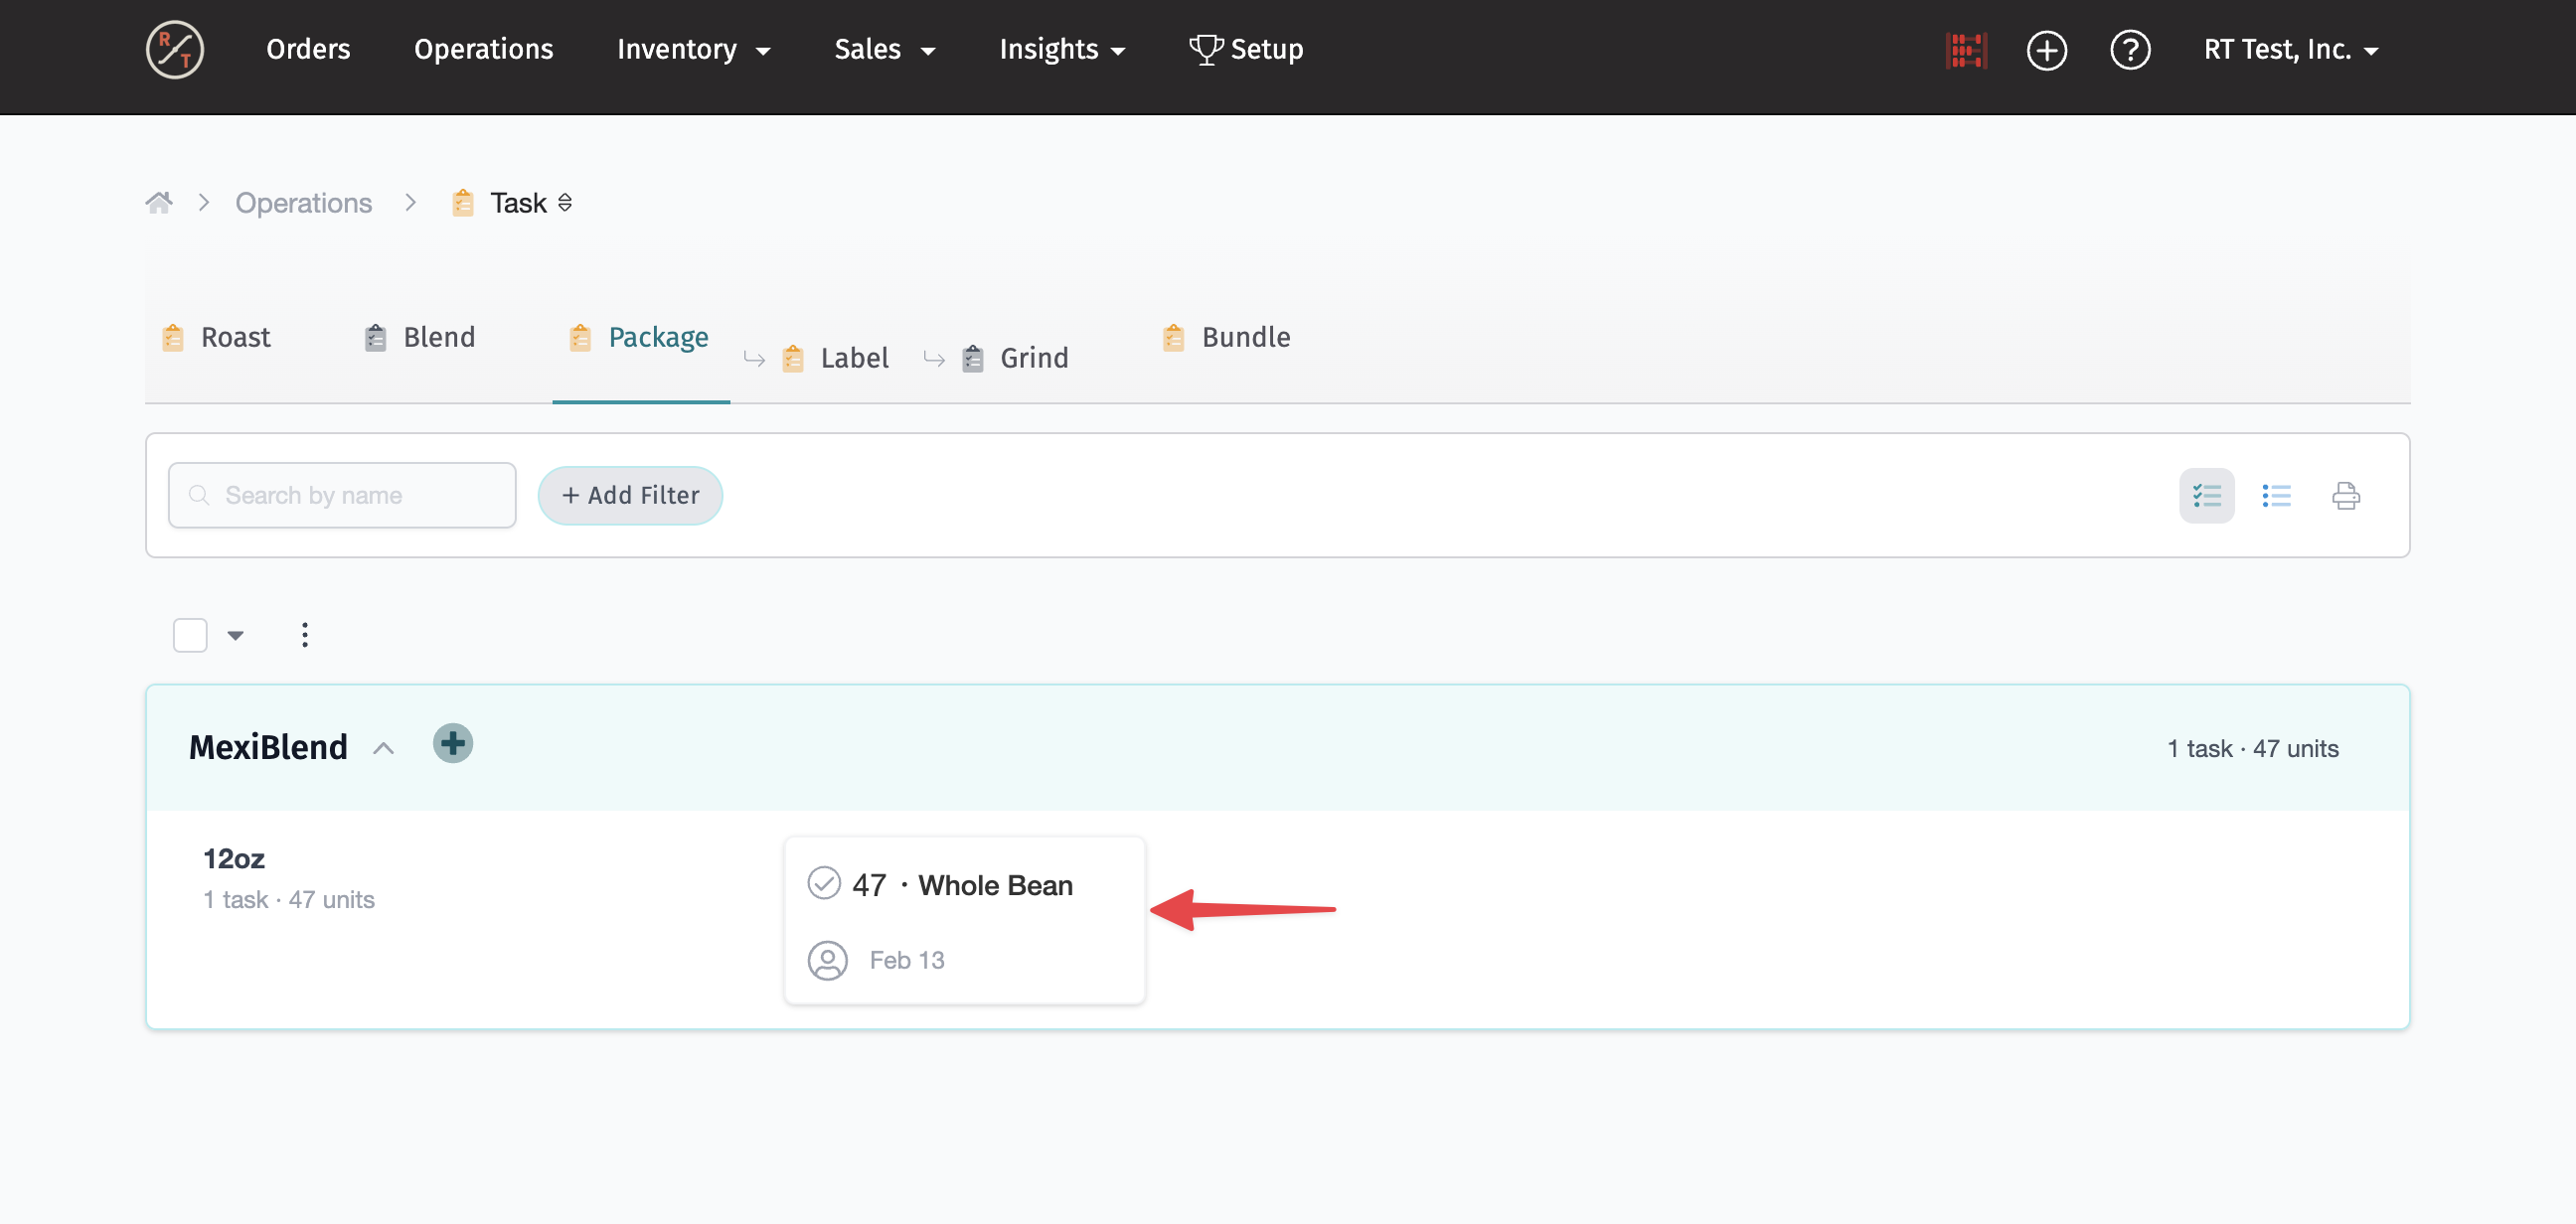
- This means two tasks need to be marked complete: one for packaging the individual bags, and one for bundling.
Note: With bundle setup, both the packaging task AND the bundle task must be completed before the order can move to fulfillment.
Which option should you choose?
Choose bag level setup if:
- You want all variants of a product (including cases) to appear together in your portal
- Your team prefers fewer tasks and does not mind doing quick mental math
- You do not need a separate bundling step in your workflow
Choose bundle setup if:
- You want Operations to show the total individual bags needed without manual calculations
- You want bundling to be its own trackable task
- You are okay with cases appearing as separate products in your portal
There is no wrong answer here. It depends on what matters more for your team and your customers.
Option 1: Bag level setup
With this method, you first create the case as a bag size, then enable it on your coffee product.
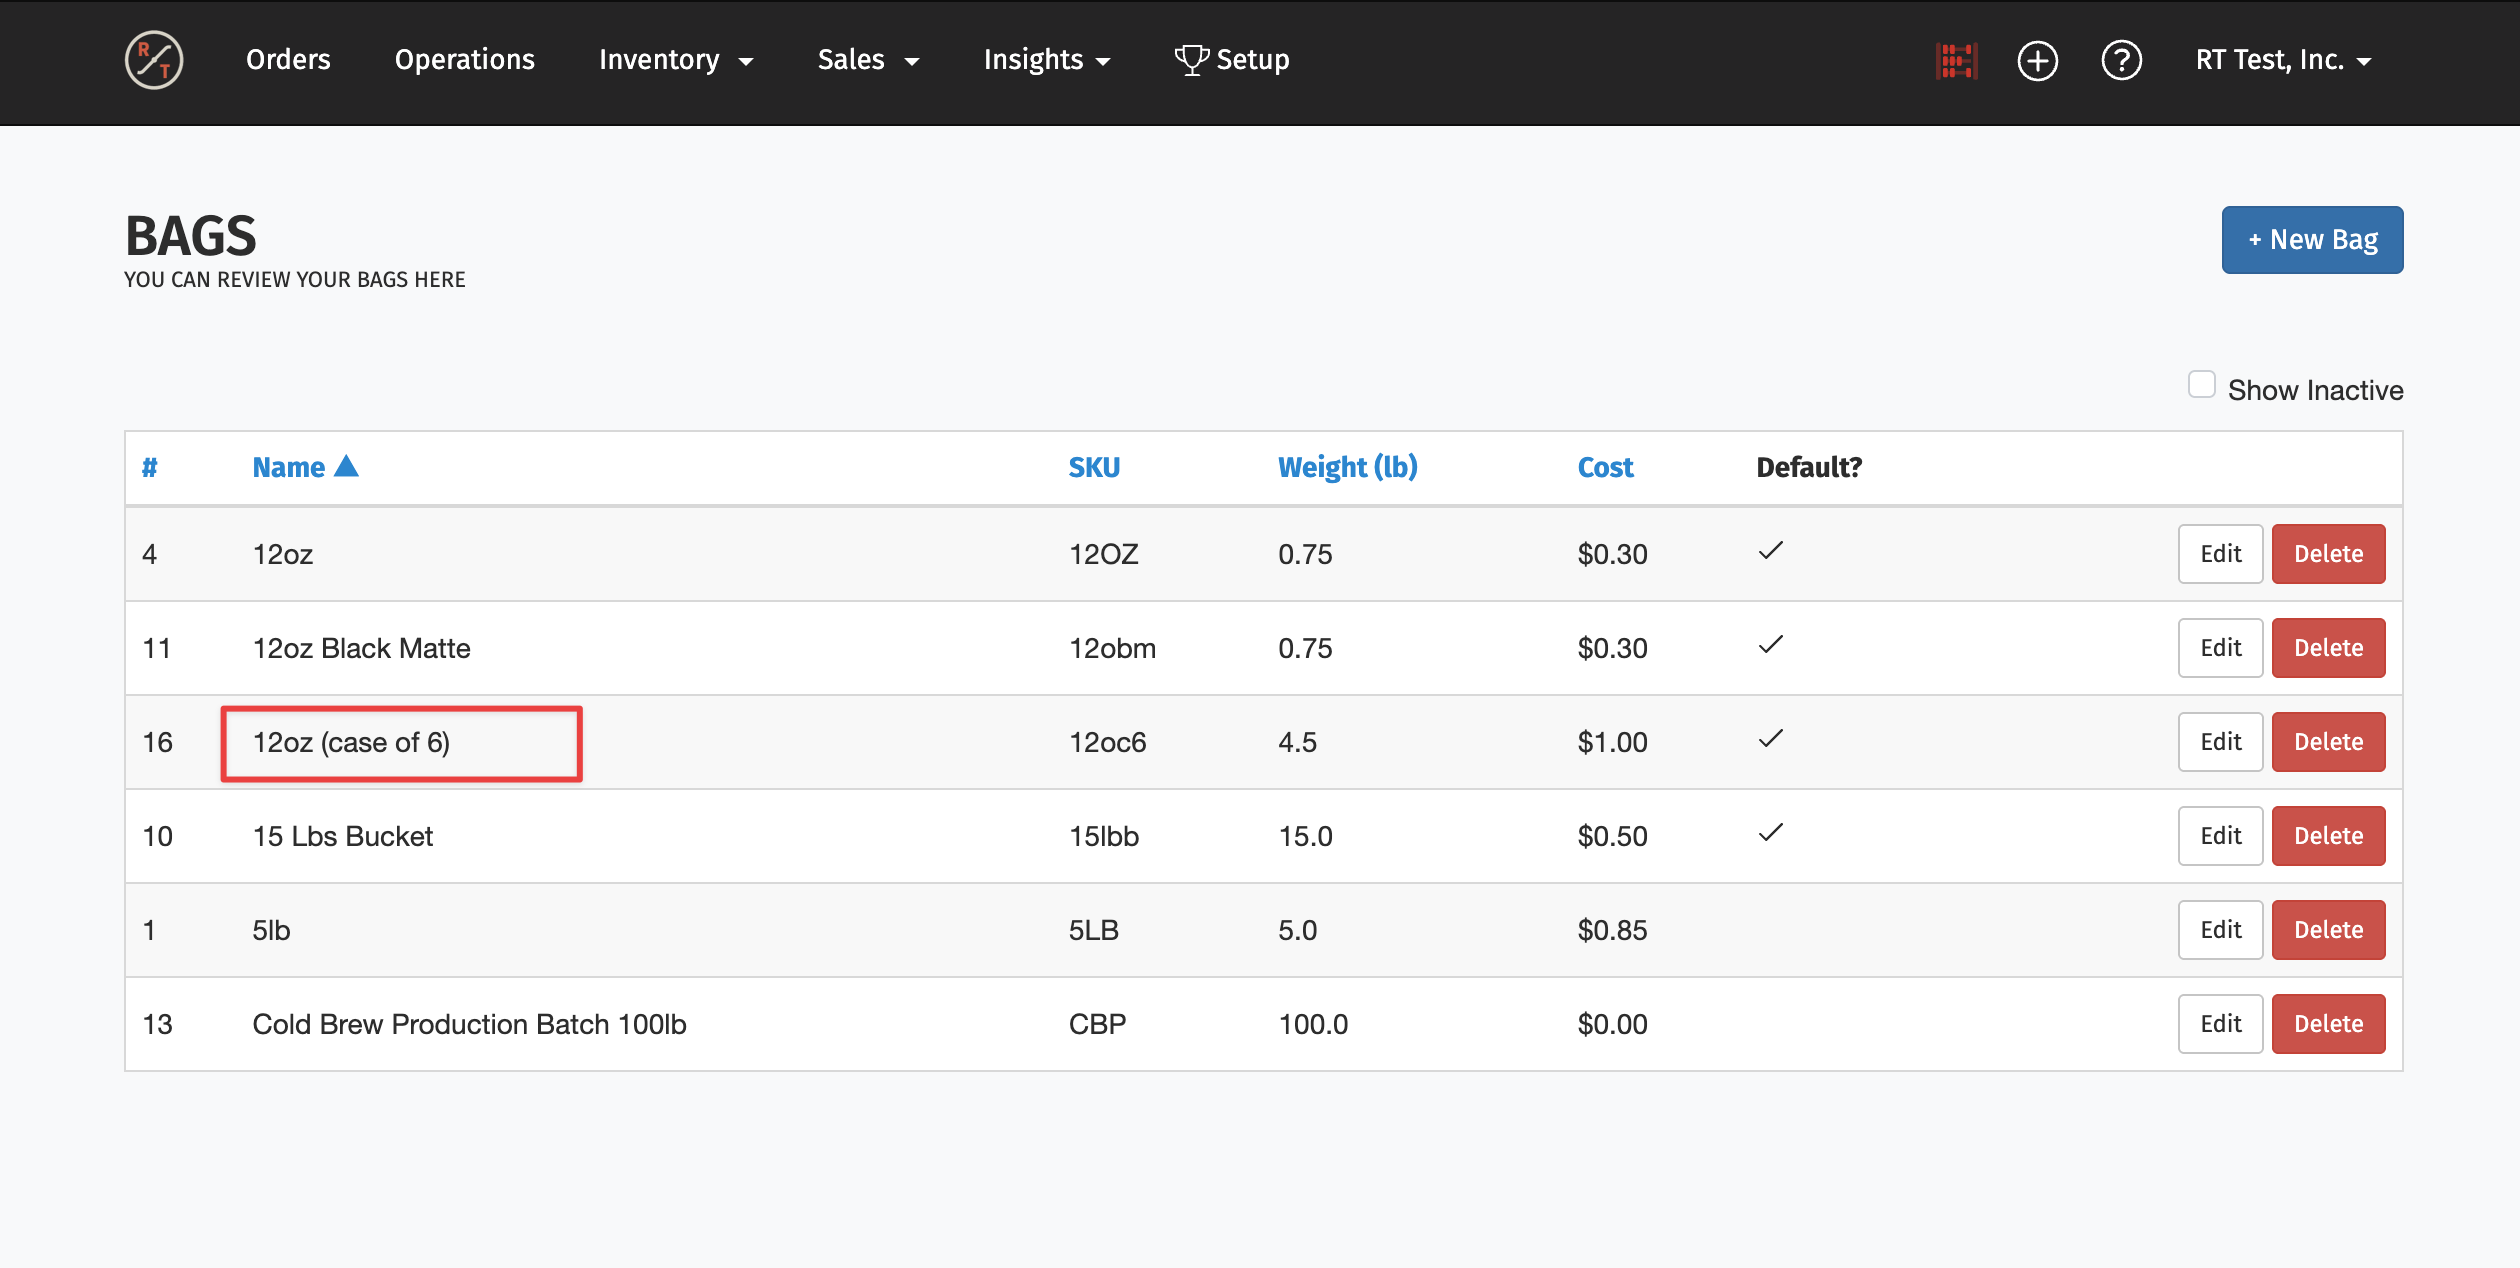
Step 1: Create the case as a bag
- Go to Inventory > Bags.
- Click New Bag.
- Name your bag to indicate it is a case (e.g., "12oz Case of 6").
- Weight: Make sure the weight is is the Total weight of all bags
- Cost: This is the cost x number of bags, include the cost of all bags
- Configure any other settings as needed.
- Click Save.
Step 2: Enable the case on your product
- Go to Products and open the coffee product you want to enable the case variant for, or you can enable when you're creating a new product.
- Scroll down to the Variants section where your bag sizes are listed.
- Enable the case bag you just created.
- Click Update Product.
Your case now appears as a variant alongside your other bag sizes like 12oz, 5lb, etc.
Learn More: For details on creating and managing bag sizes, see Bags: Creating, Updating, Settings and more.
Option 2: Bundle setup
With this method, you create the case as a separate product that is made up of multiple individual bags.
- Go to Products.
- Click New Product.
- Select Bundle as the product type.
- Name your bundle (e.g., "Mexi Blend Case of 6").
- Under Components, choose the individual product and quantity that make up this bundle (e.g., 6 x Mexican Veracruz 12oz).
- Select your grind options if applicable.
- Click Save.
Your case now exists as its own product in your product list, separate from the individual bag product.
Tip: Add a note in the bundle description linking to other variants. For example: "See all options for Mexi Blend here." This helps customers discover your other sizes.
Learn More: For a deeper dive on bundles and their uses, see Complete Guide to Bundle Products.
Tips and FAQs
Q: Can I offer different grind options for cases?
A: Yes. Both setup methods support grind options. With bag level setup, grind options work just like your other variants. With bundle setup, you select available grind options when creating the bundle.
Q: Does the roast demand calculate correctly with both methods?
A: Yes. RoasterTools calculates the correct amount of coffee to roast regardless of which setup method you use. The differences only affect how packaging tasks display.
Q: Can I switch from one method to the other?
A: Yes, but you will need to create the new setup and deactivate the old one. Any existing orders will stay tied to the original product or variant.
Q: What if my team does not actually bundle cases as a separate step?
A: If your team just puts bags directly into a case box during packaging (no separate bundling step), the bag level setup probably fits your workflow better. You will not have an extra task to complete.