Accounting: Connect to Quickbooks Online or Xero
Minimizing data entry while ensuring that your order data is synced to your accounting platform is a key part of how RoasterTools helps you streamline your workflow. Your first step is connecting your platform. In this article we'll go over how ot connect to Quickbooks Online or Xero.
If you are looking for the instructions for Quickbooks Desktop - View this article - How to Connect to Quickbooks Desktop
Before You Begin
Note: A connection to Xero is $29/month, while a connection to QuickBooks Online in included with your subscription
What You'll Need
- Admin access to your Accounting platform account
- A few minutes to complete the setup
What to Expect
- Initial sync: RoasterTools will connect to your accounting platform quickly - typically just a few minutes.
- Ongoing syncs: Data syncs automatically in the background
Connecting Quickbooks Online or Xero to RoasterTools
Step 1: Start the Integration
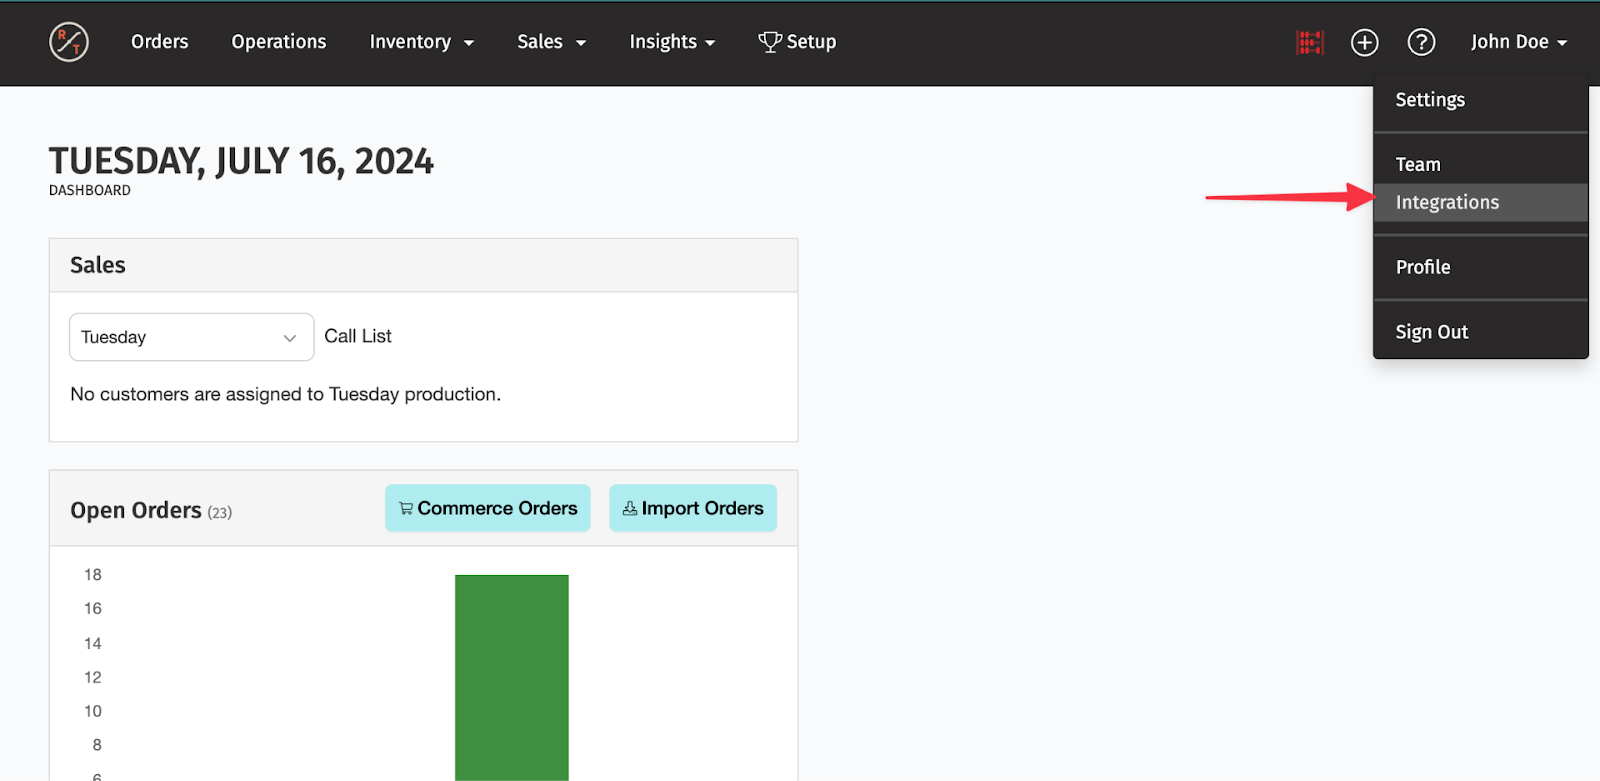
- Click your name in the top right corner of RoasterTools
- Click Integrations
- Click Add an Integration → Accounting
- Select Create a Connection next to Quickbooks Online or Xero
Step 2: Authorize Access
- You'll be redirected to your accounting platforms’s login page
- Log in with your accounting platform’s admin credentials
- Select the organization you want to connect (if you have multiple)
- Click Allow Access to authorize RoasterTools
Step 3: Verify the Connection
- You'll be redirected back to RoasterTools
- The integration status should show as Connected
- Wait a few minutes for the initial sync to complete (can take up to a few hours for all customers and items to show up on the integration page)
- Check that your customers and items are appearing in RoasterTools
-
Go to name > integrations > select the connection name > click on the customer tab to see if they've synced
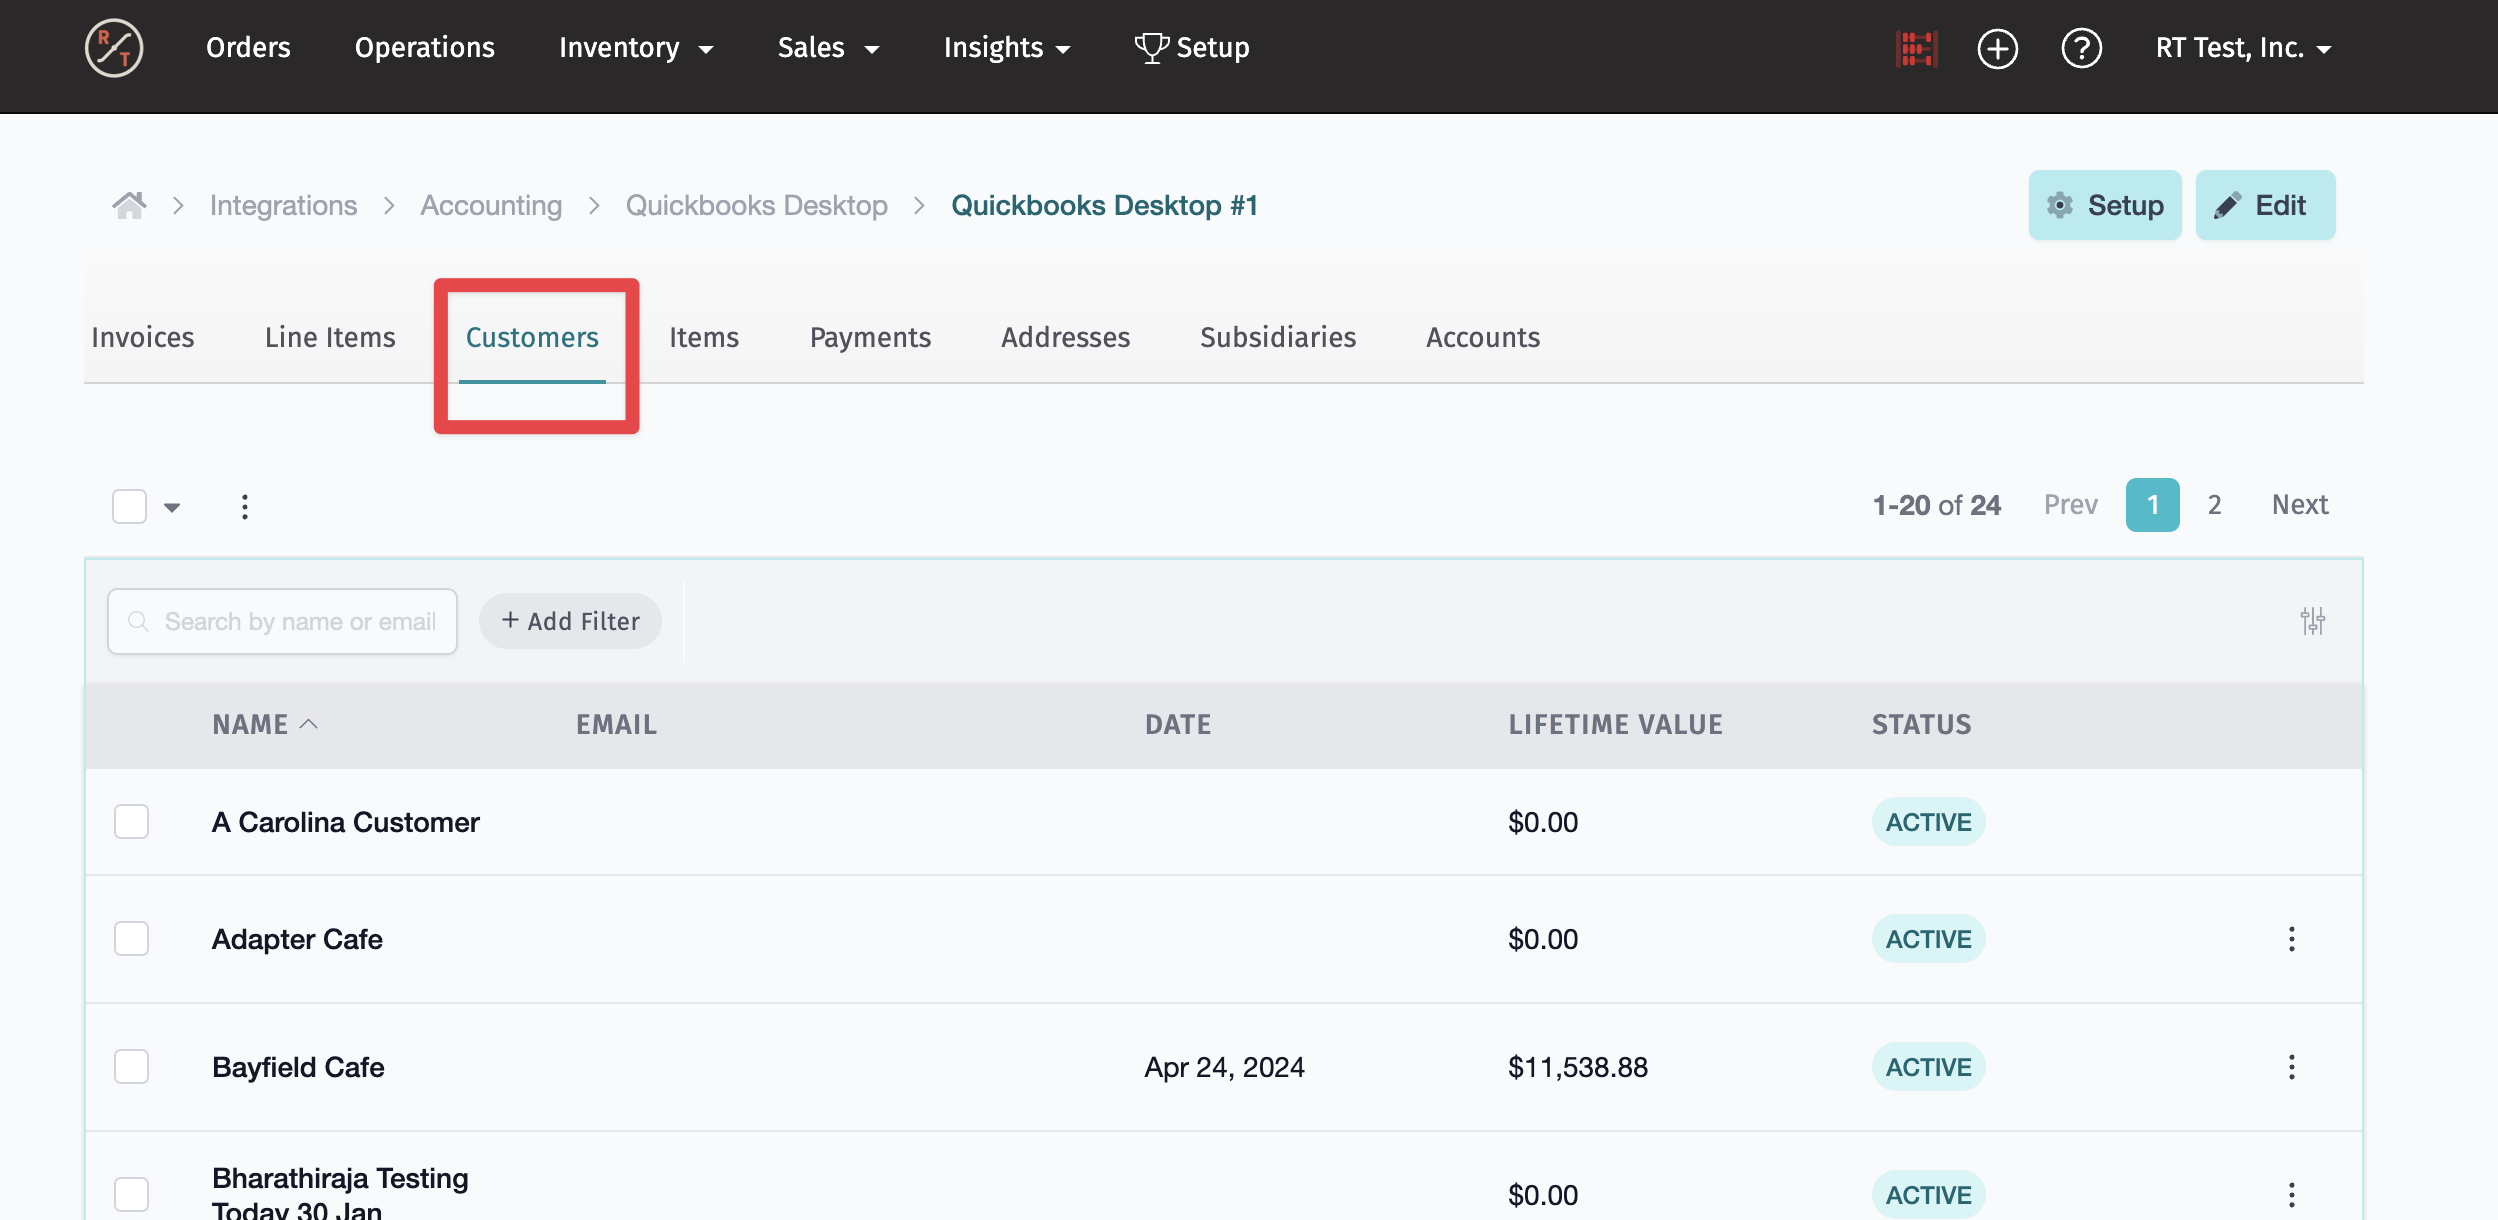
-

Once you can see your customers, your accounting platform is now connected. 🥳
Connection Status
You can see the status and health of your Accounting connection on the Integrations Page
If you need to reconnect, you can select the three dots to review options and reconnect.
You can disconnect a connection as well from this section.
See details about connection health and how to reconnect here

Next Steps:
Before you can sync orders you have a few more steps to complete:
- Import your customers -> Overview here
- Set your preferences for exporting -> Overview here
- Map customers and variants -> Overview here
Frequently Asked Questions
Connection & Setup
Q: Do I need to install anything?
A: No. You just log in and authorize access. There's no software to install.
Q: How long does the initial sync take?
A: Usually just a few minutes but can take longer - up to an hour or so.
Ongoing Use
Q: Do I need to manually run syncs?
A: No. Data syncs automatically in the background.
Q: How often does data sync?
A: Syncs happen automatically throughout the day. You don't need to manage sync frequency.
Q: What data syncs between RoasterTools and Xero?
A: Customers, items, invoices, and payments sync between the two systems.
Q: Does inventory sync to my accounting platform?
No we do not sync inventory